
WSpoint »
KNOWLEDGE HUB
KNOWLEDGE HUB
Mastering the Sony Alpha for Skydiving & Wingsuit Photography
Capturing razor-sharp, well-exposed air-to-air footage in dynamic skydiving environments requires more than just high-end gear. Between intense relative speeds, changing lighting conditions from canopy to horizon, your camera settings need to be dialled in before you exit the aircraft.
This guide outlines the optimal configuration for the Sony full-frame bodes, but it will also work on any other cameras paired with wide-angle lenses (such as 24mm) for wingsuit pilots, camera flyers etc.
1. Exposure Core Setup: Manual Mode + Auto ISO
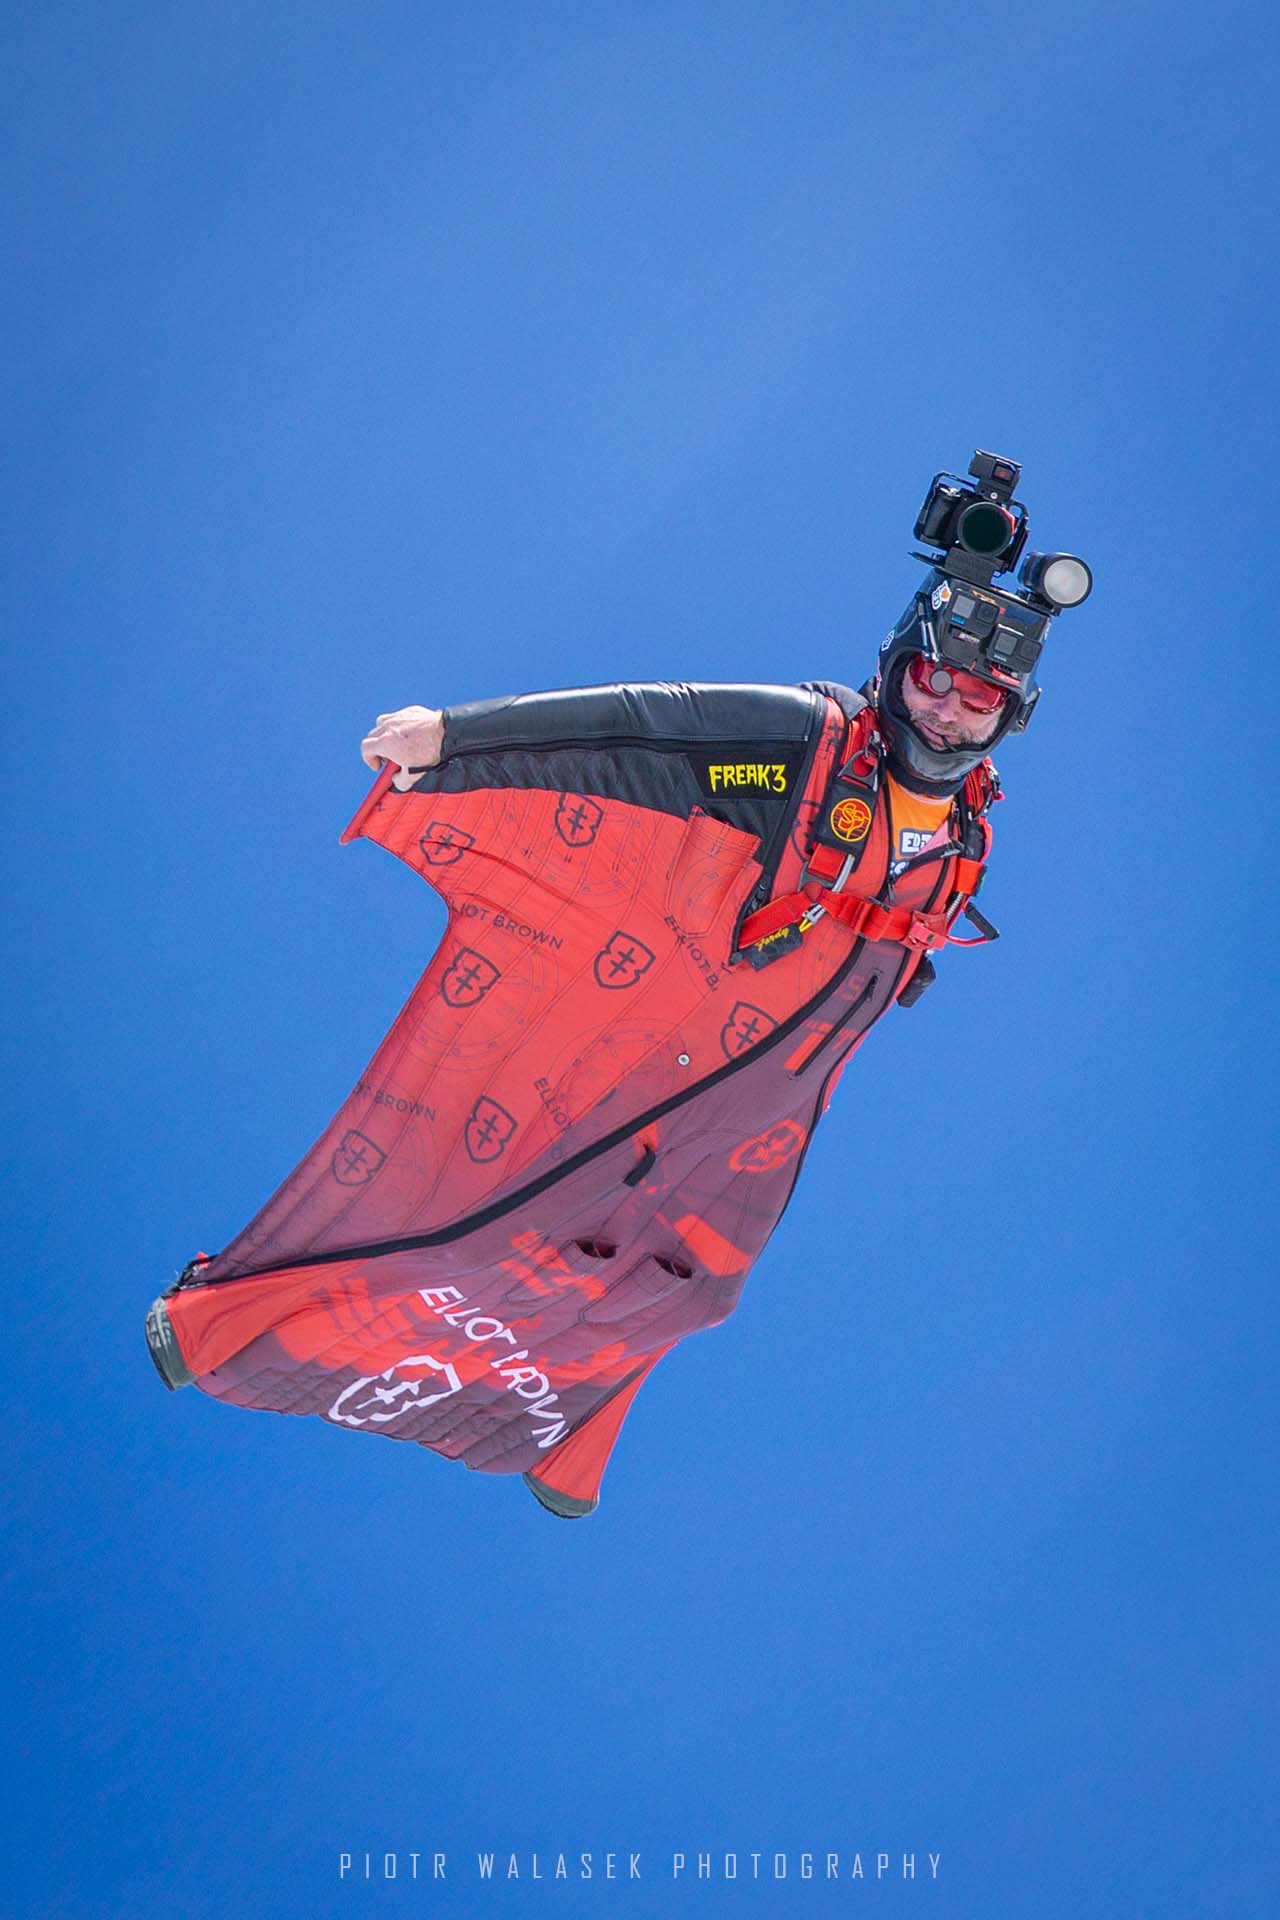
The golden rule for air-to-air photography is uncompromised motion freezing. Changing backgrounds (dark terrain vs. bright sky) will fool aperture or shutter priority modes. The cleanest solution is running Manual Exposure (M) with Auto ISO.
-
Mode Dial:
M(Manual) -
Shutter Speed: minimum
1/1250sto1/1600s-
Why: Prevents motion blur from wing flutter, and high-speed close-pass flybys. In low-light or sunset jumps, do not drop below
1/800s.
-
-
Aperture:
f/5.6tof/8.0-
Why: Keeps your glass in its optical "sweet spot" for edge-to-edge sharpness while guaranteeing enough depth of field to keep both close jumpers and the jump run plane sharp.
-
-
ISO:
AUTO(Limited Range)-
Set
ISO AUTO Minimumto 100. -
Set
ISO AUTO Maximumto 1600 (or 3200 for sunset/cloudy jumps).
-
-
Exposure Compensation:
+0.7 EV-
Why: Skydiving cameras are often pointed towards bright blue skies or clouds, which tricks the light meter into underexposing dark jumpsuits and helmets. Setting a
+0.7 EVoffset forces Auto ISO to properly expose faces and suit details.
-
2. Focus Strategies: Zone AF vs. Hyperfocal Distance
Depending on your flying style and helmet setup (bite, tongue, blow switch, or continuous shooting), choose one of three proven triggering methods:
Option A: Continuous Autofocus (AF-C) with Face Priority (Recommended for standard shooting)
Modern Sony AF algorithms are fast enough to track jumpers across the frame seamlessly.
-
Focus Mode:
AF-C -
Focus Area:
WideorCenter -
Face/Eye Priority in AF:
ON -
Meter Mode:
Multi -
Face Priority in Multi Metering:
ON
How it works: The camera prioritizes human subjects within your central zone, locking onto visors and helmets even against high-contrast cloud layers.
Option B: Hyperfocal Manual Focus (The "Set & Tape" Method)
If you want zero autofocus latency or are flying tight wingsuit formations where close-range wings might confuse the sensor:
-
Focus Mode:
MF(Manual Focus) -
Aperture:
f/8.0 -
Focus Distance: Lock focus manually at approximately 3.5 meters (11.5 ft).
-
Secure the Ring: Apply gaffer tape to the focus ring to prevent shift during exit or deployment.
How it works: At 24mm/28mm and f/8.0, setting focus to 3.5m provides a hyperfocal depth of field where everything from ~1.7 meters to infinity (∞) is in critical focus.
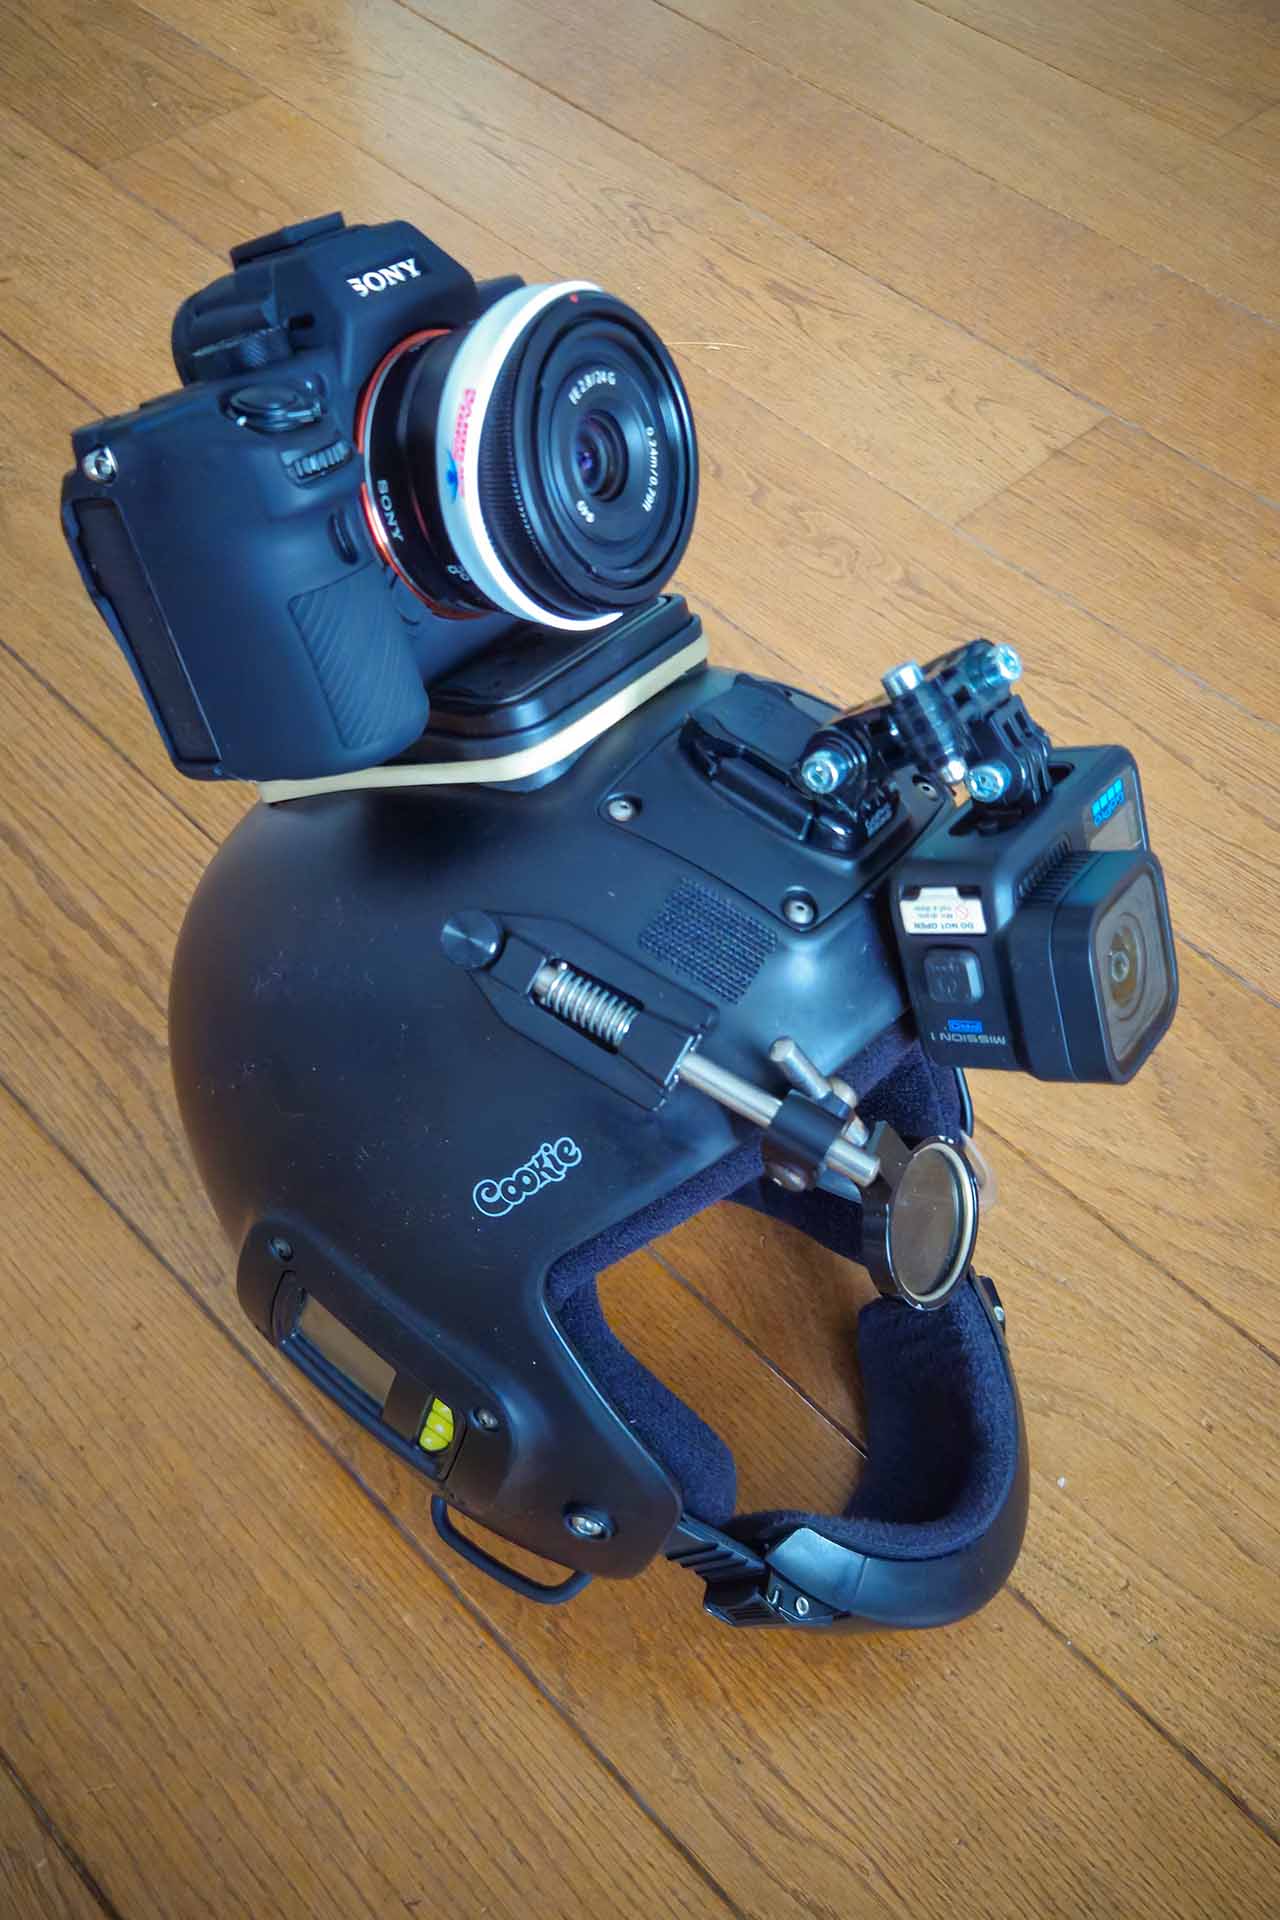
Pro Tip: Prevent Accidental Dial Shifts in the Plane.
To stop moving control dials out of position, use Sony’s built-in software lock instead of messy gaffer tape:
-
The Shortcut: Press and hold the
Fn(Function) button for 3 seconds until the lock icon appears on the screen/EVF. -
To Unlock: Hold the
Fnbutton again for 3 seconds.
Customize what gets locked under Menu → Setup → Dial Setup / Lock Dial to lock the Control Wheel, Front/Rear Dials, or both. This keeps your exposure locked solid on jump run while allowing clean, adhesive-free adjustments when needed.
3. Image Quality & Processing Settings
-
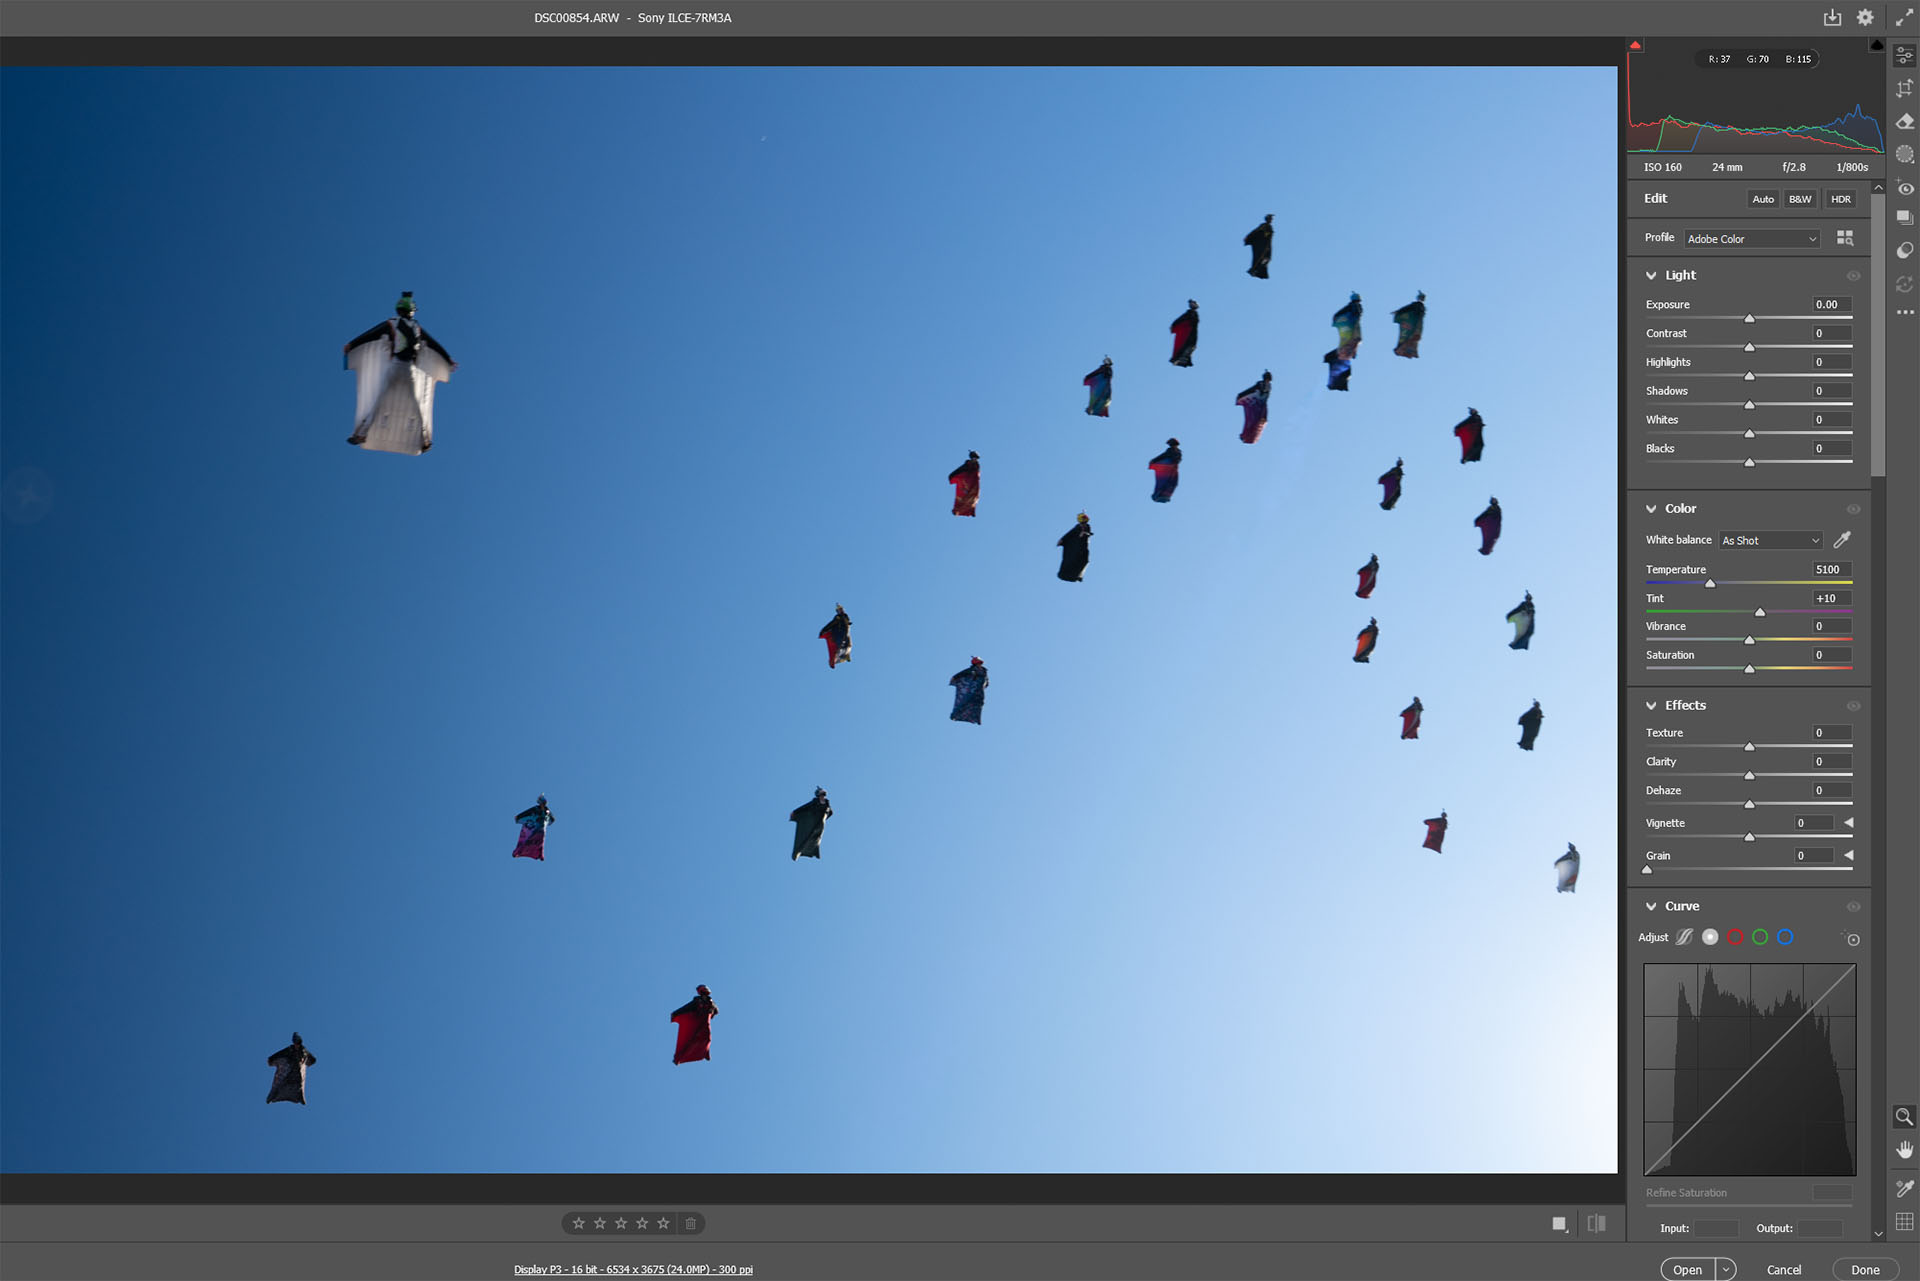
File Format:
RAW(orRAW + JPEGif immediate social uploads are required).-
Note: The 42.4 MP sensor on the A7R III offers immense dynamic range. RAW is essential for recovering shadows in harsh backlit conditions.
-
-
White Balance:
Auto (AWB)orDaylight (5500K) -
Drive Mode:
Continuous Shooting: Low(Taking too many photos won't make you a better photographer - simply visualize the shot, then trigger).
Pro Tip: The Silicone Wristband Trick (Protect Your Focus) Instead gaffer tape for securing your choosen the Hyperfocal Distance / Manual Focus (MF) you can slide a silicone rubber wristband over the focus ring.
4. Lens Filters & Accessories
-
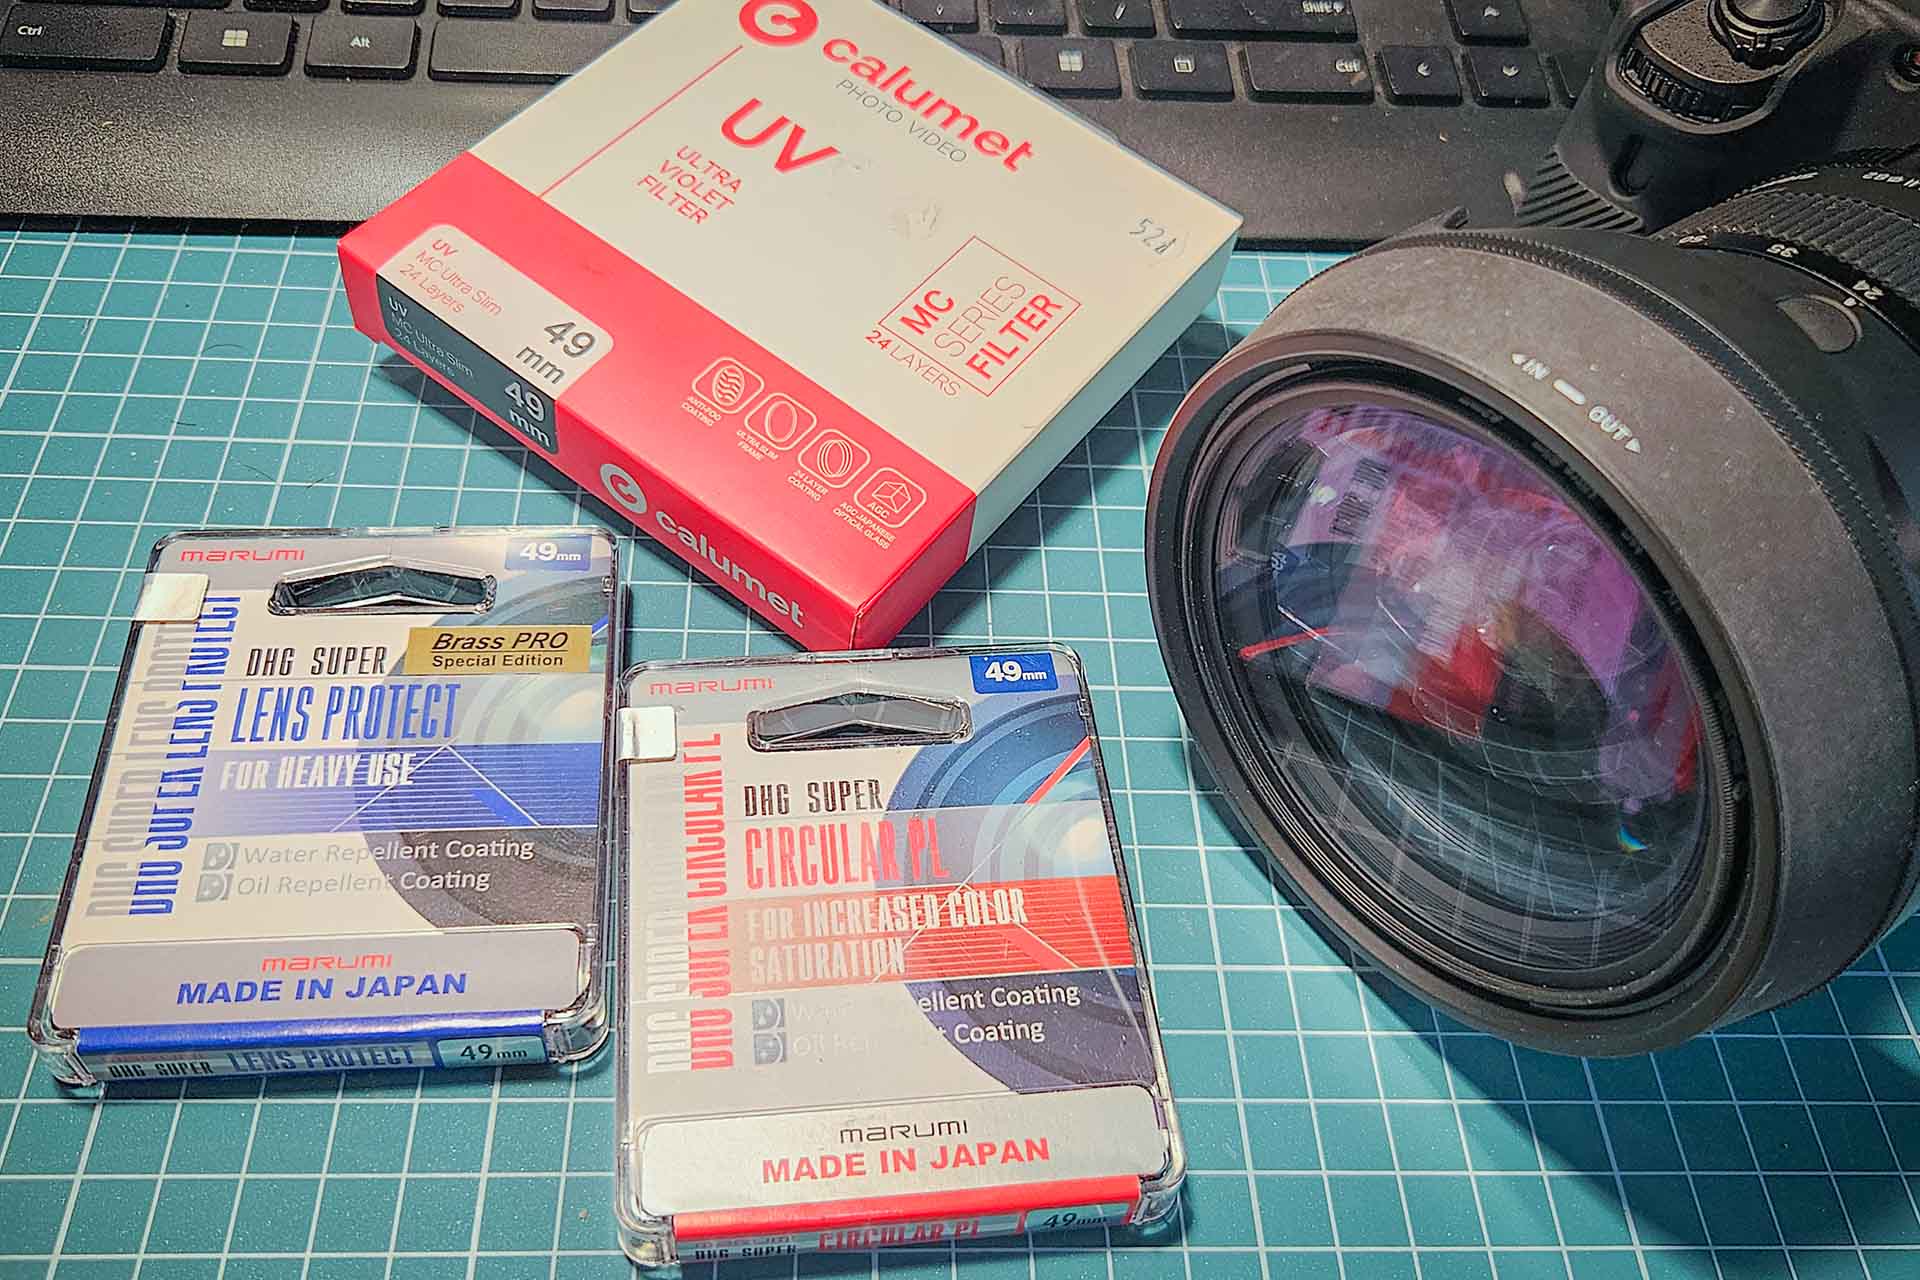
Polarizing Filters (CPL): Use with caution. While a CPL filter deepens sky blue, it reduces incoming light by 1 to 1.5 stops (forcing higher ISO).
-
Front Element Protection: Always use a high-quality UV filter or lens hood to protect the front glass from riser slap, line stows, and airflow vibration.
Summary Checklist Before You Gear Up
| Mode | Manual (M) | Manual (M) |
| Shutter Speed | 1/1250s | 1/800s |
| Aperture | f/5.6 - f/8.0 | f/4.0 |
| ISO | Auto (100–1600) | Auto (100–6400) |
| EV Comp. | +0.7 EV | 0.0 to -0.3 EV |
| Focus | AF-C (Zone) or MF at 3.5m | AF-C (Zone) or MF at 6m |
CATEGORIES: